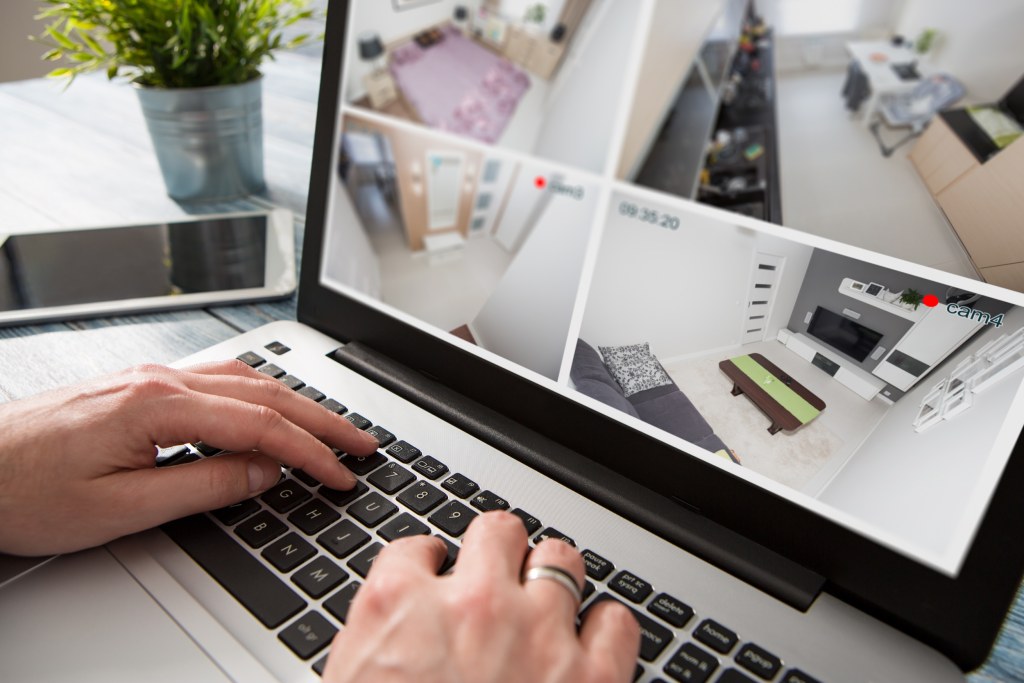
Setting up proper motion detection zones is crucial for reducing false alerts
The Problem with False Alerts
Nothing undermines the effectiveness of a security camera system faster than a barrage of false notifications. You know the experience: your phone constantly buzzing with alerts of "motion detected," only to check and find it was just rain, shadows from trees, or passing cars on a nearby street. Over time, this alert fatigue can lead to ignoring notifications altogether—defeating the purpose of having security cameras in the first place.
At Camera Fitter, we've helped hundreds of Boston-area homeowners configure their security cameras properly. One of the most powerful tools at your disposal is motion detection zones. When configured correctly, these zones can dramatically reduce false alerts while ensuring you capture the activity that actually matters.
What Are Motion Detection Zones?
Motion detection zones allow you to define specific areas within your camera's field of view where motion will trigger recording and notifications. Equally important, they let you exclude areas where irrelevant motion occurs frequently.
Think of them as invisible boundaries that tell your camera: "Pay attention here, ignore everything there."
Benefits of Using Motion Detection Zones
Setting up proper motion detection zones offers several key advantages:
- Reduced false alerts - No more notifications from swaying tree branches or street traffic
- Extended battery life for wireless cameras by reducing unnecessary recordings
- Lower storage requirements as fewer irrelevant events are captured
- Improved notification response since alerts are more likely to be legitimate
- Customized security focus on the most vulnerable or important areas
Step-by-Step Guide to Setting Up Motion Detection Zones
Follow these steps to configure motion detection zones on your security cameras:
1. Access Your Camera Settings
Most modern security cameras allow you to configure motion zones through their companion mobile app or web interface. For this guide, we'll focus on the general steps that apply to most systems:
- Open your camera's mobile app or log into the web portal
- Navigate to camera settings (usually under "Device Settings" or similar)
- Look for "Motion Detection," "Motion Zones," or "Activity Zones" settings
2. Analyze Your Environment
Before creating zones, take time to observe your camera's view and identify:
- High-traffic areas you want to monitor (walkways, entryways, driveways)
- Problem areas causing false alerts (busy streets, trees, areas with changing light)
- Areas of no interest that can be excluded entirely
3. Create Active Zones
Depending on your camera system, you'll typically have one of two options:
Option A: Inclusion Zones
- Draw shapes around ONLY the areas where you want to detect motion
- Everything outside these zones will be ignored
Option B: Exclusion Zones
- The entire field of view is active by default
- Draw shapes around areas you want to EXCLUDE from detection
Most premium camera systems like Ring, Nest, and Arlo use inclusion zones, while others may use exclusion zones or a combination of both.
4. Best Practices for Zone Placement
When setting up your zones, follow these Camera Fitter-recommended best practices:
- Focus on entryways - Always include doors, gates, and first-floor windows
- Create buffer zones - Extend zones slightly beyond critical areas to ensure capture
- Avoid roads and sidewalks - Unless monitoring deliveries, exclude public areas
- Block out upper portions of the frame where trees or sky movement occurs
- Consider seasonal changes - Remember that trees without leaves in winter will create different shadows than in summer
5. Adjust Sensitivity Settings
Zone creation works hand-in-hand with sensitivity settings:
- For areas with minimal environmental interference, you can use higher sensitivity
- For zones that may include some movement (like distant trees), use medium or lower sensitivity
- Most systems allow different sensitivity levels for different zones or times of day
6. Test Your Configuration
After setting up your zones:
- Have someone walk through different areas of your camera's view
- Check which movements trigger alerts and which don't
- Make adjustments as needed to find the right balance
7. Schedule Regular Reviews
Your needs and environment will change with:
- Seasonal variations (snow, falling leaves, longer shadows)
- Growing vegetation
- New construction
- Changes to your property
We recommend reviewing and adjusting your motion zones quarterly for optimal performance.
Advanced Motion Detection Features
Many modern security cameras now offer advanced features beyond basic motion zones:
Person Detection
Camera systems with AI capabilities can distinguish between people and other moving objects. This feature works alongside motion zones to provide an additional layer of filtering.
Vehicle Detection
Similar to person detection, this feature identifies cars, trucks, and other vehicles, allowing you to choose whether to receive alerts for them.
Animal Detection
Some premium systems can now identify and filter out pet movements, reducing false alerts while still monitoring for human activity.
Package Detection
Particularly useful for doorbell cameras, this feature can specifically alert you when packages are delivered and left at your door.
Common Zone Configuration Mistakes to Avoid
Based on our experience installing and configuring cameras for Boston-area homes, here are the most common mistakes to avoid:
- Creating zones that are too large - This defeats the purpose of targeted detection
- Setting sensitivity too high - This can trigger alerts from minor movements like insects
- Ignoring lighting changes - Shadows can create false motion as the sun moves
- Placing too much faith in person detection - AI is helpful but not perfect
- Setting and forgetting - Not adjusting zones as seasons and environments change
CameraFitter's Professional Touch
While motion zones are powerful, they're just one part of a comprehensive security camera strategy. At CameraFitter, our professional installations include:
- Expert camera placement to minimize environmental interference
- Custom motion zone configuration based on your property's specific needs
- Sensitivity adjustments tailored to each area
- Integration of advanced detection features when available
- 30-day follow-up to fine-tune settings after initial setup
Conclusion
Properly configured motion detection zones transform your security camera system from a noisy distraction into a reliable security tool. By focusing on the areas that matter and filtering out irrelevant motion, you'll dramatically reduce false alerts while ensuring you capture actual security events.
Ready to Optimize Your Motion Detection?
Contact CameraFitter today for a professional assessment of your current setup, or schedule an installation that includes expert motion zone configuration. Our team serves the Boston metropolitan area with customized security solutions.